I’ve been thinking a lot about the challenges facing most production companies at the moment. With commissioning shifting and tighter budgets, from where I sit in post production, it’s clear that revenue is being distributed differently. That pressure creates space to think about what decisions are being made and where money is actually being spent.
Read On
The Finish Line is proud to announce that it has been officially awarded ‘HDR Vivid’ Certification, further expanding its industry-leading HDR finishing and delivery capabilities. The certification arrives as the company continues its full migration to QD-OLED reference monitoring across all 30 finishing systems, using the latest displays from Flanders Scientific. This upgrade, combined with HDR Vivid certification, reinforces The Finish Line’s commitment to delivering the highest standards of image accuracy for every project.
Read OnThis is a basic guide on how to get your DaVinci Resolve Project over to us for Final Post
Read On
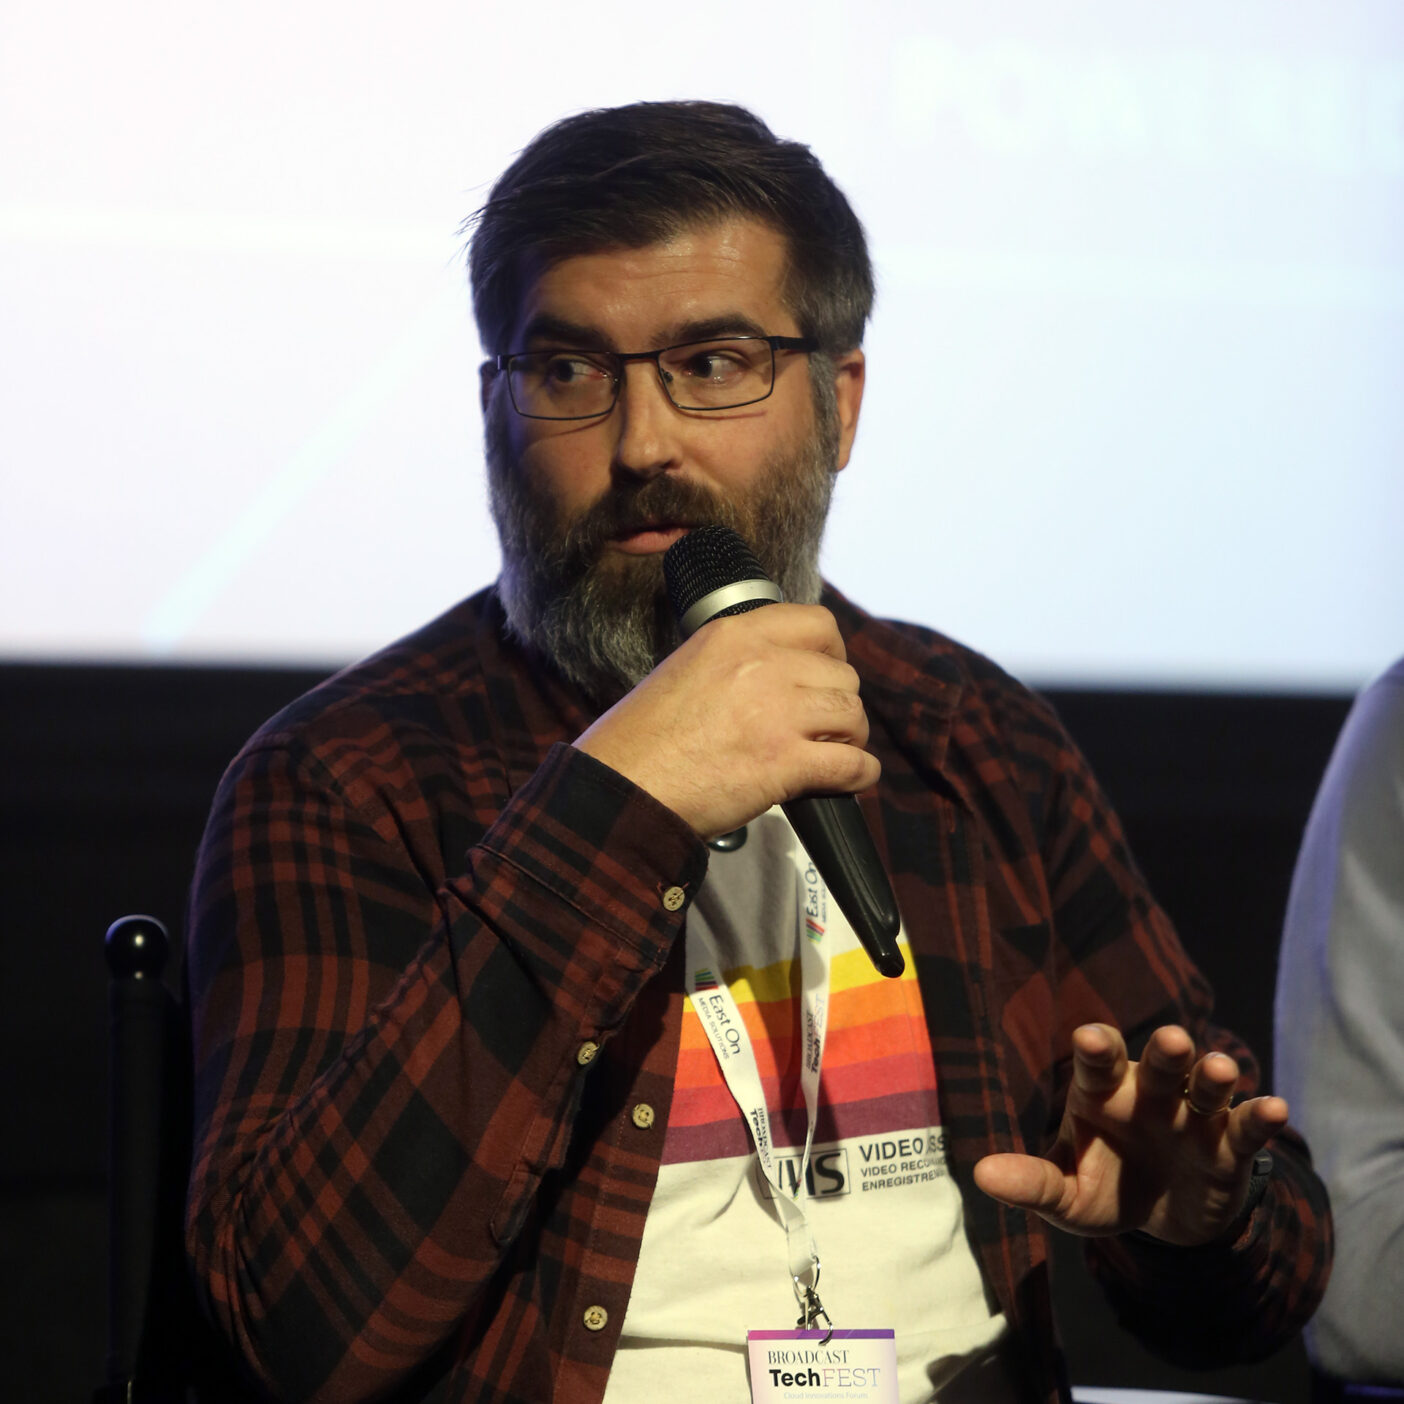
At BIRTV 2024, the largest film, entertainment, and broadcast tech exhibition in Asia, Kevin Shaw chaired a panel on HDR titled “HDR: The Future is Here.” The discussion featured insights from Bram Desmet, CEO of Flanders Scientific, cinematographer Yang Shu, Vice President of the Chinese Society of Cinematographers, and our founder and CVO, Zeb Chadfield. We explored how HDR is reshaping filmmaking, from breaking SDR limitations to enabling more creative freedom.
Read On
Zeb Chadfield at The Finish Line provides an easy-to-follow guide outlining what to consider when finishing in High Dynamic Range.
Read On
At The Finish Line, our primary goal is to deliver stunning pictures. By filling our company with top-tier talent and providing comprehensive support, we ensure unmatched results. We specialise in picture finishing and delivery, while offering full-service post-production wherever it’s needed.
Read On
Zeb Chadfield, founder and finishing artist at post house The Finish Line, has been taking the Apple Vision Pro for a spin to see how the new tech could be used in a professional finishing environment. Here are his first impressions.
Read OnThis is a basic workflow or tips for generating ‘proxy’ media via DaVinci Resolve to be used for editing . The goal of these steps isn’t to be the perfect workflow for all productions as we customise a lot of this for specific cameras and workflows but hopefully this will help any productions looking to prep their own media to do it in a way that should make the conform process more simple when the time comes for final post. If you need to talk to us about a specific project so we can create a more refined template please get in-touch.
Read OnThis is a basic guide on how to get your DaVinci Resolve Project over to us for Final Post
Read On